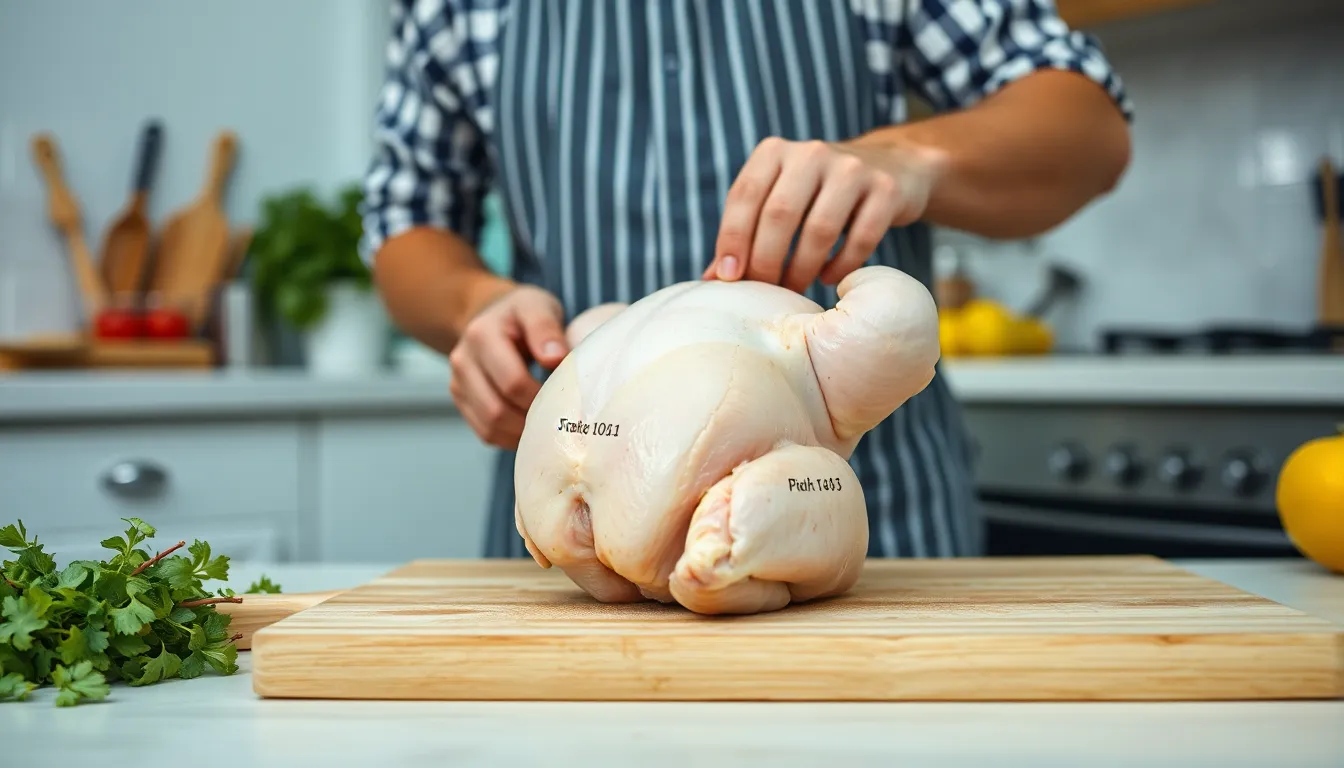
Cutting a whole chicken might seem like a daunting task, but it’s easier than you think—and way more fun than it sounds! Imagine the satisfaction of transforming a plump bird into perfectly portioned pieces, ready to be grilled, roasted, or tossed into a savory stew. Not only will you impress your friends and family, but you’ll also save some serious cash by skipping the pre-cut options at the store.
Table of Contents
ToggleTools You Will Need
Proper tools enhance the efficiency of cutting a whole chicken. Gathering the right equipment ensures a smooth and safe process.
Essential Knives
A sharp chef’s knife performs well for cutting through meat and joints. A boning knife excels at removing bones, particularly in tighter areas. A utility knife serves well for smaller cuts. Choosing knives with comfortable handles provides better grip and control. Maintaining the knives through regular sharpening improves performance.
Cutting Board Selection
A sturdy cutting board prevents slipping during cutting. Opt for a large wooden or plastic board to accommodate the whole chicken. Selecting a non-porous surface makes cleaning easier. Avoid using glass boards, as they can dull knives quickly. Ensuring there’s enough space for all pieces prevents clutter and enhances efficiency.
Preparing the Chicken

Proper preparation is essential for cutting a whole chicken effectively. Start by ensuring the chicken is completely thawed and cleaned before beginning the cutting process.
Thawing and Cleaning
Thawing the chicken takes priority. Place the chicken in the refrigerator for approximately 24 hours per five pounds for safe thawing. If time is limited, submerge the chicken in cold water, changing the water every 30 minutes, which typically takes about 2 to 3 hours. Once thawed, cleaning is crucial. Rinse the chicken thoroughly under cold water to remove any residue, especially inside the cavity. Patting the chicken dry with paper towels helps eliminate moisture, making cutting cleaner and easier.
Identifying Joint Areas
Identifying joint areas simplifies cutting tasks. Start by examining the natural joints, which connect the wings, thighs, and breasts to the carcass. Look for visible seams or soft spots in the skin, indicating the joints. Cutting through these areas helps avoid unnecessary resistance from bones. Pay attention to the socket where each joint meets the body; this is where knives slide through effortlessly. Noticing where bones overlap reduces effort and enhances accuracy during the cutting process.
Step-by-Step Cutting Guide
Follow these steps to effectively cut a whole chicken into portions. Start by assembling the necessary tools and ensuring a clean workspace.
Removing the Legs
Begin with the legs, which consist of the thighs and drumsticks. Locate the joint connecting the leg to the body, then cut through the skin around it. Apply pressure and gently push the leg back until the joint pops, making it easier to locate the natural separation point. Slice through the joint with a sharp knife for a clean cut. Repeat this process on the opposite side. Each leg should be removed with minimal effort, resulting in two separate pieces ready for cooking.
Separating the Wings
Next, focus on the wings. Start by identifying the joint where the wing meets the carcass. Cut through the skin around the joint and bend the wing back until it pops out of the joint socket. Use the knife to cut through the joint, detaching the wing from the chicken. This method ensures a clean separation. Repeat the same action for the other wing. The wings should now be distinct pieces, perfect for grilling or baking.
Cutting the Breast
Moving on to the breast, place the chicken breast-side up. Begin by slicing down the middle of the breastbone to create an initial cut. From here, carefully work your knife along one side of the breastbone, using gentle pressure to follow the contour of the bone. Once you’ve cut deeply enough, pull back the breast to separate it from the ribcage. Repeat this process on the opposite side to yield two boneless breast halves. Breast sections can now be sliced for various recipes or served whole.
Tips for Cutting Whole Chicken
Cutting a whole chicken can be straightforward with the right techniques. Following these tips enhances the overall experience and outcome.
Avoiding Common Mistakes
Mistakes frequently happen during chicken cutting. Not locating the joints before cutting causes unnecessary effort and uneven pieces. Using a dull knife results in jagged edges and can be dangerous. Measurements also matter; cutting too close to the bone wastes meat. Some people overlook the need to clean their workspace, leading to slips and mess. Remember to keep hands dry to maintain grip on the knife. Familiarizing oneself with the bird’s anatomy improves cutting accuracy and efficiency.
Ensuring Clean Cuts
Clean cuts contribute to better presentation and cooking. A sharp knife is essential; it easily glides through bones and meat layers. Using steady pressure while cutting avoids tearing, preserving the chicken’s structure. Cutting against the grain results in more tender pieces. Maintaining a clean cutting board ensures no juices or debris create cross-contamination. It’s important to frequently wipe the knife during the process to keep cuts clean. Ensuring quick, deliberate motions keeps the cutting rhythm steady and effective.
Cutting a whole chicken can be a rewarding experience that not only saves money but also enhances culinary skills. With the right tools and techniques, anyone can master the art of breaking down a chicken into perfectly portioned pieces.
By following the outlined steps and tips, individuals can ensure clean cuts and a more enjoyable cooking process. Embracing this skill opens up a world of cooking possibilities, from juicy roasted chicken to flavorful stews.
Ultimately, taking the time to learn how to cut a whole chicken pays off in both taste and satisfaction.


